How To Set Up A Raspberry Pi Secure Tunnel For Ultimate Network Protection
Imagine this—you're sitting in your favorite coffee shop, sipping your latte, and browsing the web on your laptop. But wait, did you know that public Wi-Fi networks can be a goldmine for hackers? That's where a Raspberry Pi secure tunnel comes into play. With this tiny yet powerful device, you can create an encrypted connection that protects your data like Fort Knox. Whether you're a tech enthusiast or just someone looking to boost their cybersecurity, this guide will walk you through everything you need to know about setting up a Raspberry Pi secure tunnel.
Now, you might be wondering, "Why should I even bother with a secure tunnel?" Well, my friend, in today's digital world, privacy is no longer a luxury—it's a necessity. From online banking to sending sensitive emails, having a secure connection ensures that your information stays safe from prying eyes. And guess what? The Raspberry Pi makes this process not only affordable but also a fun little project to tinker with.
In this article, we'll dive deep into the world of Raspberry Pi secure tunnels. We'll cover everything from the basics of what a secure tunnel is to step-by-step instructions on setting one up. So grab your Raspberry Pi, a cup of coffee, and let's get started on this exciting journey to fortify your digital defenses.
- Tragic End Unveiling The Cause Of Sue Aikens Granddaughters Passing
- Jesse Belle Denver The Musical Legacy Of John Denvers Son
What is a Raspberry Pi Secure Tunnel?
A Raspberry Pi secure tunnel is essentially a way to encrypt your internet connection using a Raspberry Pi as the gateway. Think of it as a secret passageway that only you have the key to. This tunnel ensures that all your online activities are hidden from potential threats, making it perfect for anyone who frequently uses public Wi-Fi or simply wants an extra layer of security.
Why Choose Raspberry Pi for Your Secure Tunnel?
- Affordable and accessible hardware
- Highly customizable and versatile
- Perfect for DIY enthusiasts who love tinkering
- Low power consumption, making it ideal for long-term use
There are plenty of options out there when it comes to setting up secure tunnels, but the Raspberry Pi stands out because of its affordability and flexibility. You can turn this tiny computer into a powerhouse of security with just a few tweaks and some basic knowledge.
Benefits of Using a Raspberry Pi Secure Tunnel
When you set up a Raspberry Pi secure tunnel, you're not just protecting your data—you're also gaining access to a host of other benefits. Let's take a closer look at what makes this setup so appealing:
- Watch The Thrilling Trailer For Partners For Justice Season 3
- Tonesa Welch And Terry The Ultimate Duo
Enhanced Security
With a secure tunnel, your data is encrypted, making it nearly impossible for hackers to intercept. This is especially important when you're using public Wi-Fi networks, where the risk of cyber attacks is much higher.
Cost-Effective Solution
Compared to commercial solutions, setting up a Raspberry Pi secure tunnel is a budget-friendly option. You can use an old Raspberry Pi lying around or invest in a new one without breaking the bank.
Learning Opportunity
For those who enjoy learning new skills, this project offers a hands-on experience with networking, encryption, and Linux-based systems. It's like killing two birds with one stone—boosting your cybersecurity while also expanding your tech expertise.
Getting Started with Your Raspberry Pi Secure Tunnel
Before we dive into the nitty-gritty of setting up your secure tunnel, let's make sure you have everything you need. Here's a quick checklist to get you started:
Hardware Requirements
- Raspberry Pi (any model will do, but newer models offer better performance)
- MicroSD card (at least 8GB)
- Power supply for your Raspberry Pi
- Ethernet cable or Wi-Fi dongle (depending on your setup)
Software Requirements
- Raspberry Pi OS (previously known as Raspbian)
- OpenVPN or WireGuard (popular choices for setting up secure tunnels)
Once you have all the necessary components, you're ready to move on to the next step. But don't worry if some of these terms sound foreign to you—we'll break them down as we go along.
Step-by-Step Guide to Setting Up Your Secure Tunnel
Now that you have everything you need, it's time to roll up your sleeves and get to work. Follow these steps to set up your Raspberry Pi secure tunnel:
Step 1: Install Raspberry Pi OS
The first thing you'll want to do is install Raspberry Pi OS on your microSD card. You can download the latest version from the official Raspberry Pi website. Once you've downloaded the image, use a tool like Balena Etcher to flash it onto your microSD card.
Step 2: Configure Your Raspberry Pi
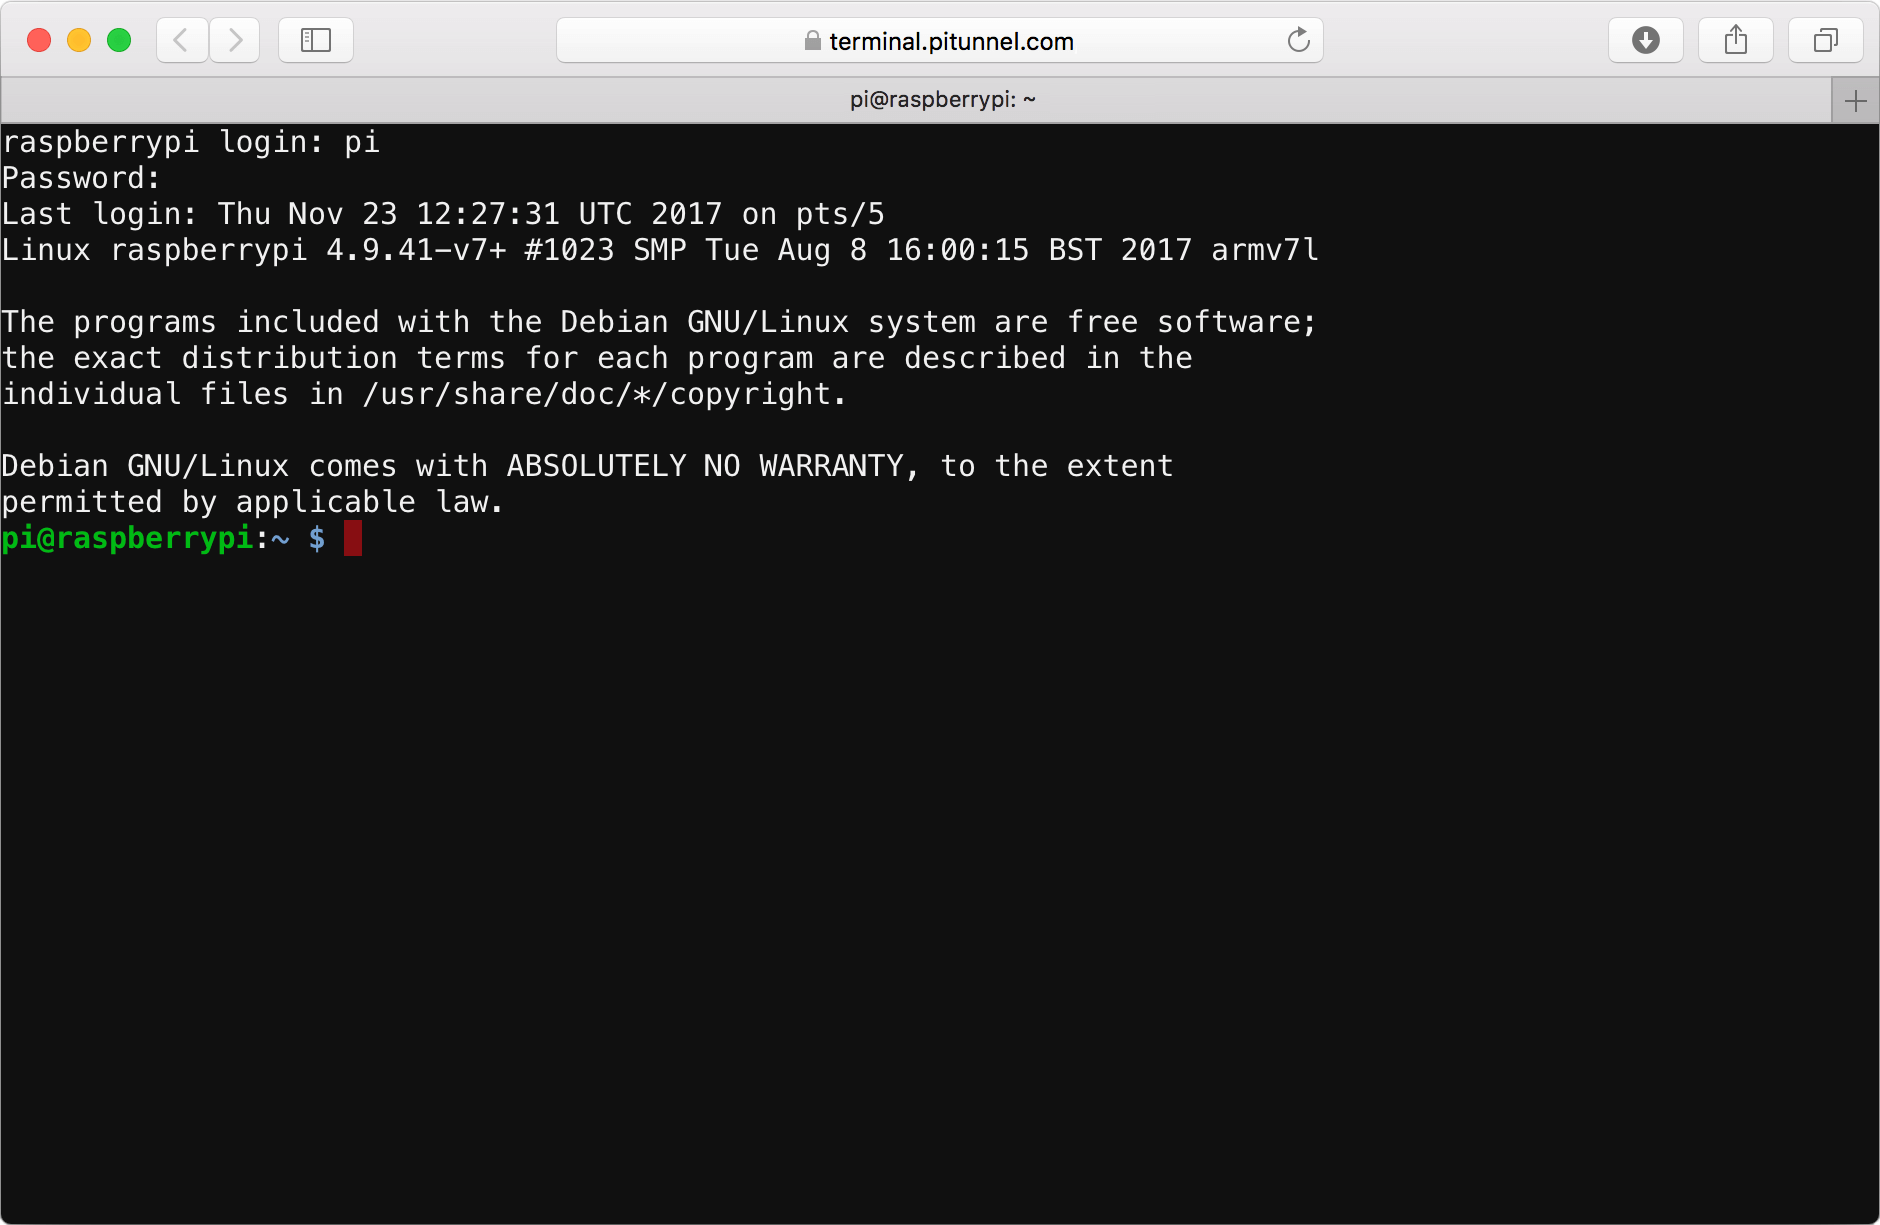
After installing the OS, boot up your Raspberry Pi and configure the basic settings. This includes setting up the Wi-Fi (if you're not using Ethernet), updating the system, and changing the default password.
Step 3: Install OpenVPN or WireGuard
For the secure tunnel itself, you'll need to install a protocol like OpenVPN or WireGuard. Both are excellent choices, but WireGuard is known for its simplicity and speed. To install WireGuard, open the terminal and run the following commands:
sudo apt update
sudo apt install wireguard
Step 4: Configure the Tunnel
Once WireGuard is installed, you'll need to configure it. This involves creating a private and public key pair, setting up the server configuration file, and generating client configuration files. It might sound complicated, but there are plenty of tutorials available to guide you through each step.
Step 5: Test Your Secure Tunnel
After everything is set up, it's time to test your secure tunnel. Connect to the Raspberry Pi from another device using the client configuration file and check if your internet traffic is being routed through the tunnel. You can use websites like whatismyip.com to verify that your IP address has changed.
Tips for Maintaining Your Raspberry Pi Secure Tunnel
Setting up a secure tunnel is just the beginning. To ensure that it continues to work smoothly, here are a few tips to keep in mind:
Regularly Update Your Software
Keeping your Raspberry Pi and its software up to date is crucial for maintaining security. Regular updates not only fix bugs but also patch any vulnerabilities that might have been discovered.
Monitor Your Logs
Checking the logs periodically can help you identify any issues or suspicious activity. This proactive approach ensures that your secure tunnel remains secure.
Backup Your Configurations
Accidents happen, and hardware can fail. To avoid losing all your hard work, make sure to back up your configuration files regularly. This way, if something goes wrong, you can quickly restore your setup.
Common Issues and Troubleshooting
Even the best-laid plans can sometimes go awry. If you encounter any issues while setting up your Raspberry Pi secure tunnel, don't panic. Here are some common problems and how to fix them:
Problem: Unable to Connect to the Tunnel
Solution: Double-check your configuration files and ensure that all the necessary ports are open on your router. Also, verify that your Raspberry Pi is reachable from the internet.
Problem: Slow Internet Speed
Solution: Encrypting data can sometimes slow down your connection. To mitigate this, ensure that your Raspberry Pi has enough processing power and that your internet connection is stable.
Problem: Configuration File Errors
Solution: Typos in your configuration files can cause all sorts of issues. Carefully review your files and make sure that all the settings are correct.
Real-World Applications of Raspberry Pi Secure Tunnels
Now that you know how to set up a Raspberry Pi secure tunnel, let's explore some real-world applications where this setup can be incredibly useful:
Remote Work
With more people working from home, having a secure connection is more important than ever. A Raspberry Pi secure tunnel ensures that your work-related data remains safe, no matter where you're working from.
Traveling
Whether you're on a business trip or vacationing in a foreign country, using public Wi-Fi can be risky. A secure tunnel provides peace of mind by encrypting your data and protecting your privacy.
Small Business Security
For small businesses, investing in expensive cybersecurity solutions might not be feasible. A Raspberry Pi secure tunnel offers a cost-effective way to protect sensitive business data without breaking the bank.
Conclusion: Take Action and Secure Your Digital Life
There you have it—a comprehensive guide to setting up a Raspberry Pi secure tunnel. From enhancing your cybersecurity to learning new skills, this project offers a wealth of benefits. Remember, in today's digital landscape, taking proactive steps to protect your data is not just smart—it's essential.
So, what are you waiting for? Grab your Raspberry Pi and start building your secure tunnel today. And don't forget to share this article with your friends and family who might benefit from it. Together, we can make the internet a safer place for everyone!
Table of Contents
- How to Set Up a Raspberry Pi Secure Tunnel for Ultimate Network Protection
- What is a Raspberry Pi Secure Tunnel?
- Why Choose Raspberry Pi for Your Secure Tunnel?
- Benefits of Using a Raspberry Pi Secure Tunnel
- Getting Started with Your Raspberry Pi Secure Tunnel
- Step-by-Step Guide to Setting Up Your Secure Tunnel
- Tips for Maintaining Your Raspberry Pi Secure Tunnel
- Common Issues and Troubleshooting
- Real-World Applications of Raspberry Pi Secure Tunnels
- Conclusion: Take Action and Secure Your Digital Life
Detail Author:
- Name : Ms. Isabel Nicolas
- Username : buckridge.jarod
- Email : asia76@gmail.com
- Birthdate : 2005-06-28
- Address : 7062 Renner Flats Apt. 970 Enochton, AL 89099-2282
- Phone : 1-231-923-0787
- Company : Hahn, Kreiger and Wisoky
- Job : Radar Technician
- Bio : Est voluptas quod aperiam placeat hic et occaecati. Nihil dolores autem ut odit. Aspernatur quos est dolores dolores. Vel dolorem voluptas omnis provident laboriosam quod.
Socials
tiktok:
- url : https://tiktok.com/@merleo'keefe
- username : merleo'keefe
- bio : Autem dolor qui est. Vel aut nulla cum facilis earum.
- followers : 4109
- following : 162
facebook:
- url : https://facebook.com/merleo'keefe
- username : merleo'keefe
- bio : Pariatur quaerat provident eaque nulla laborum.
- followers : 1108
- following : 1380
instagram:
- url : https://instagram.com/merle3617
- username : merle3617
- bio : Quos est et tempore eligendi. Nesciunt eos tempora ab reprehenderit. Omnis reiciendis qui quia.
- followers : 6989
- following : 2476
